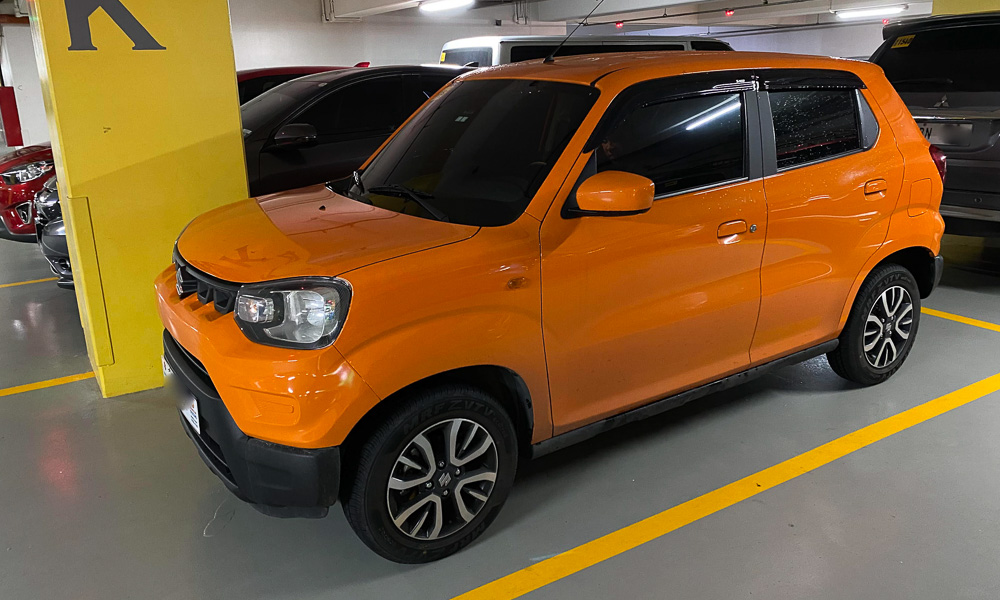
If you drive a posh car like a big Merc or a Rolls-Royce, then please stop reading now. This article isn’t for you. But if you own a small, more budget-friendly vehicle like a Toyota Wigo, a Honda Brio, or a Suzuki S-Presso, then read on. My better half recently fell in love with Suzuki’s little runabout, and thanks to the “happy wife, happy life” rule, we are now the proud owners of an orange S-Presso AGS.
It’s a cute little thing and even performed quite well during a recent road trip up north, but there’s no denying that Suzuki saved some money on certain things to get the price point down.
One of them was sound insulation. NVH (a term that stands for “noise, vibration, and harshness”) is nowhere near the level of more expensive vehicles, and you really feel this during everyday driving. Outside noises such as rain or loud cars passing by are very noticeable, which isn’t very nice. Luckily, there’s a solution for this: aftermarket sound dampening.
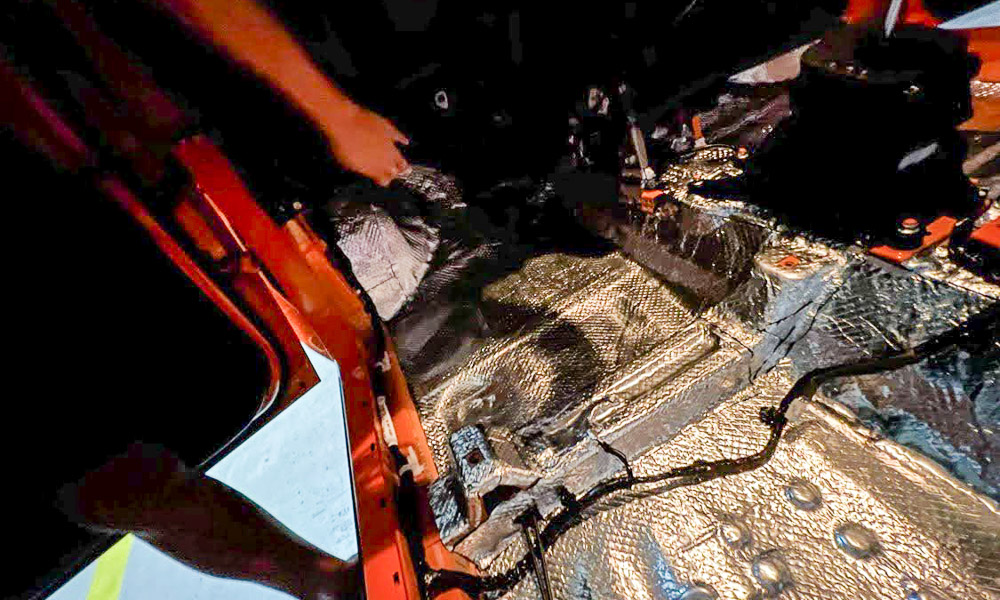
No sooner had my wife discovered this service on Facebook that the little Suzuki was booked in for the full treatment. This is quite a work-intensive process that takes a good five hours to complete. The company we used—Acoustipad Sound Deadening—offers a free home installation service for added convenience, but we couldn’t make use of that because of the weather. So instead, we met them in Parañaque.
As a side note: We did not tell them beforehand that their work would end up being the subject of an article, and neither did we get any discounts or preferential treatment. I wanted to be sure that we got a genuine experience, so it was my wife herself who went there and waited while the work was being done.
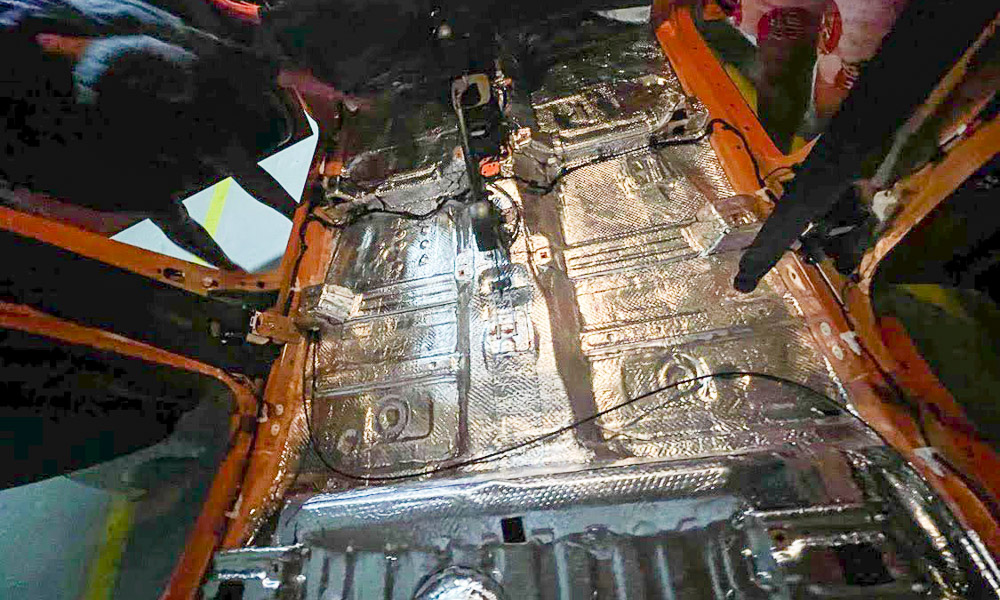
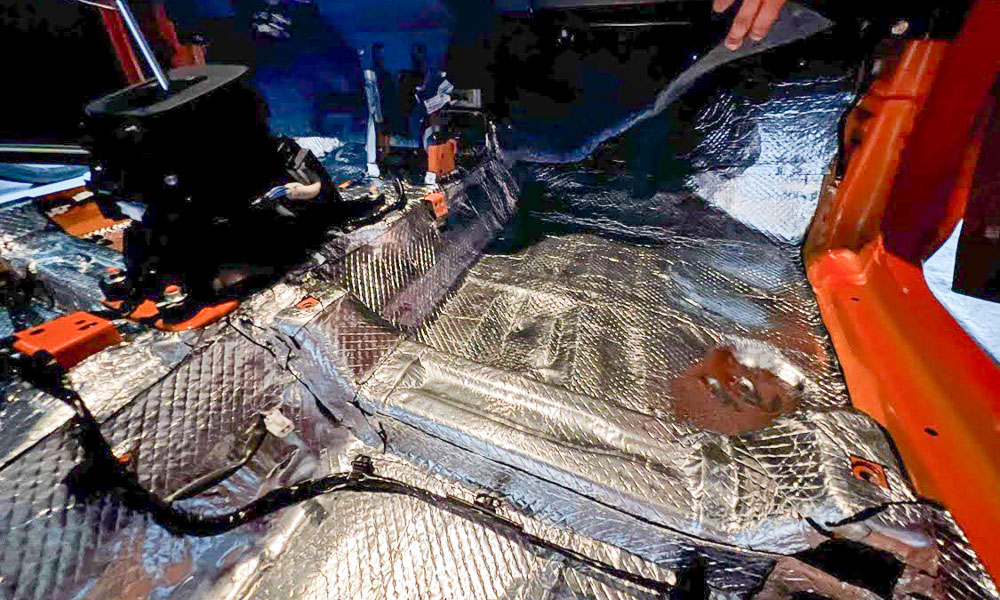
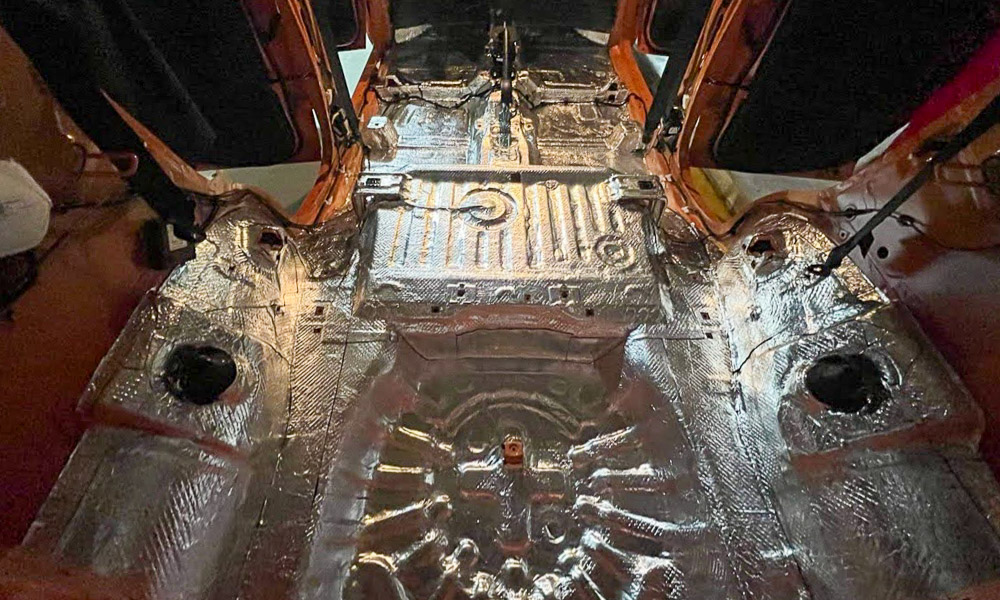
The work is quite invasive, and if the idea of seeing the interior of your car being taken to bits disturbs you, then you may want to look away while the material is being fitted. Pretty much everything is removed from the cabin and the trunk to allow for sound- and heat-dampening sheets to be installed.
The same are apparently asphalt-based, and not just foam or rubber. As a result, it adds quite a bit of weight, and the little hatchback is now 30kg heavier.
Dampening was installed on the floor, the ceiling, the rear wheel well, the trunk door and flooring, and the inner and outer panels of all doors. Afterward, everything was reassembled, and just by looking at the cabin you’d never know the work had been carried out.
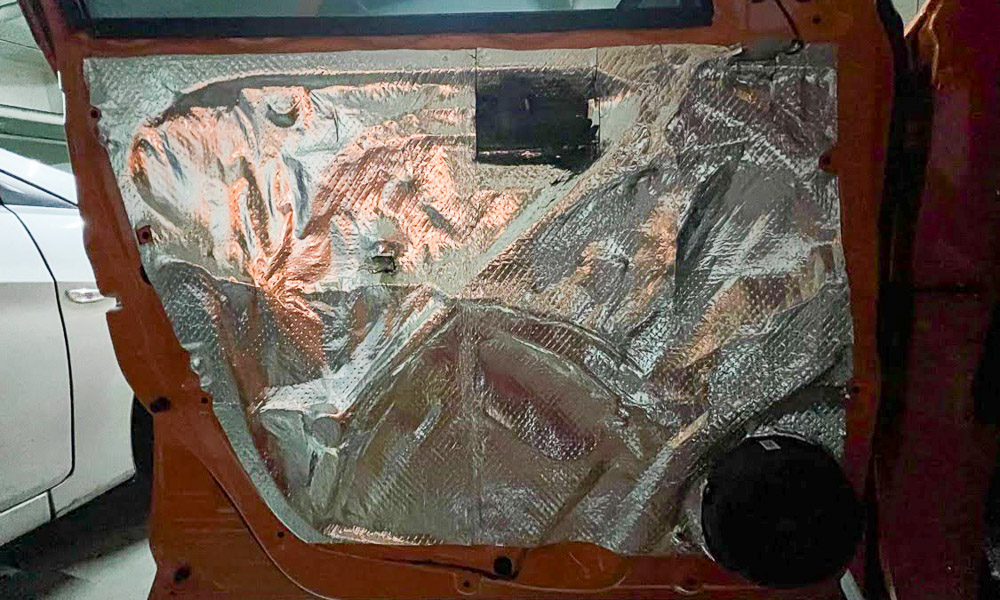
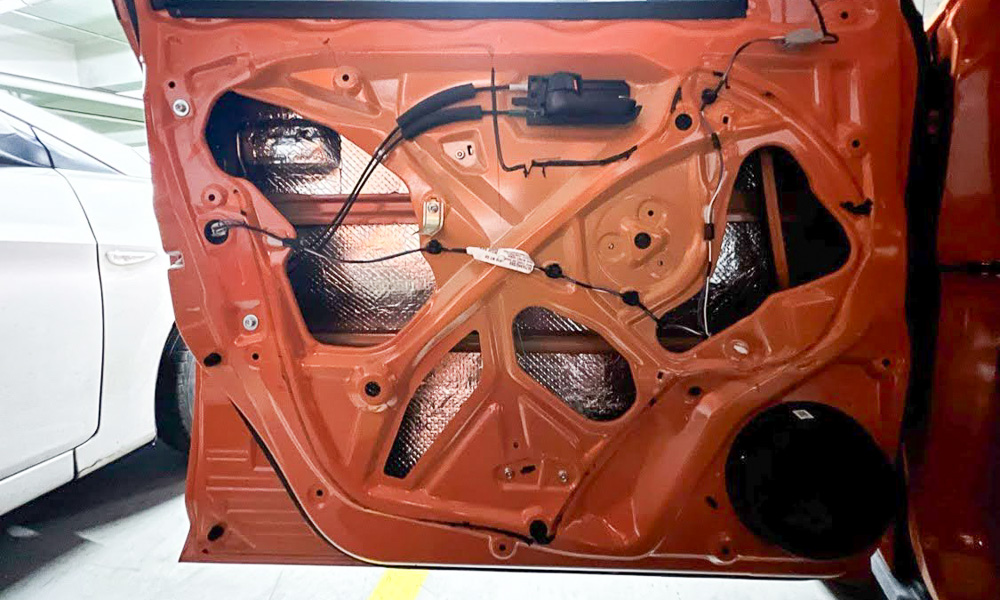
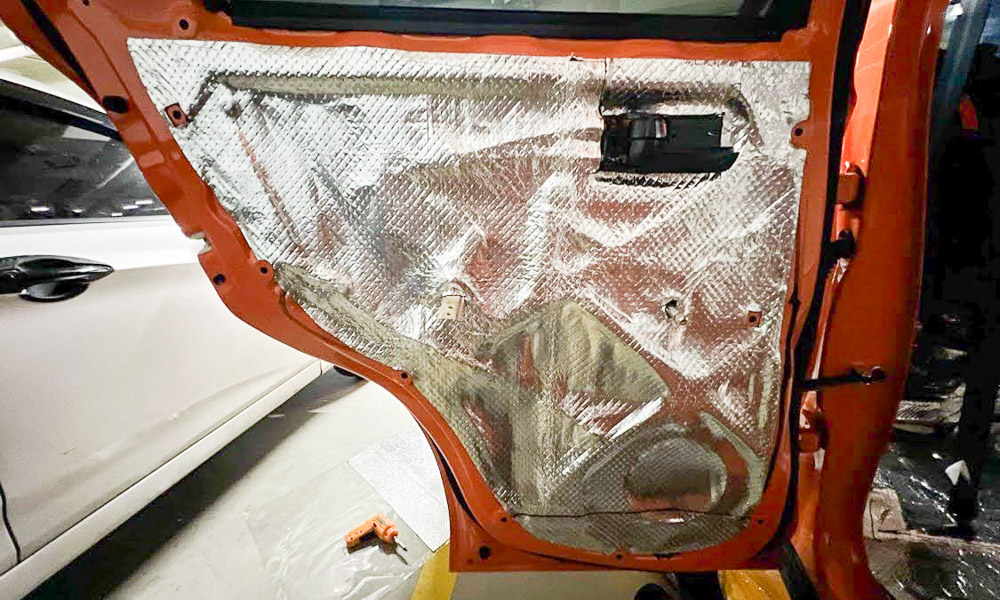
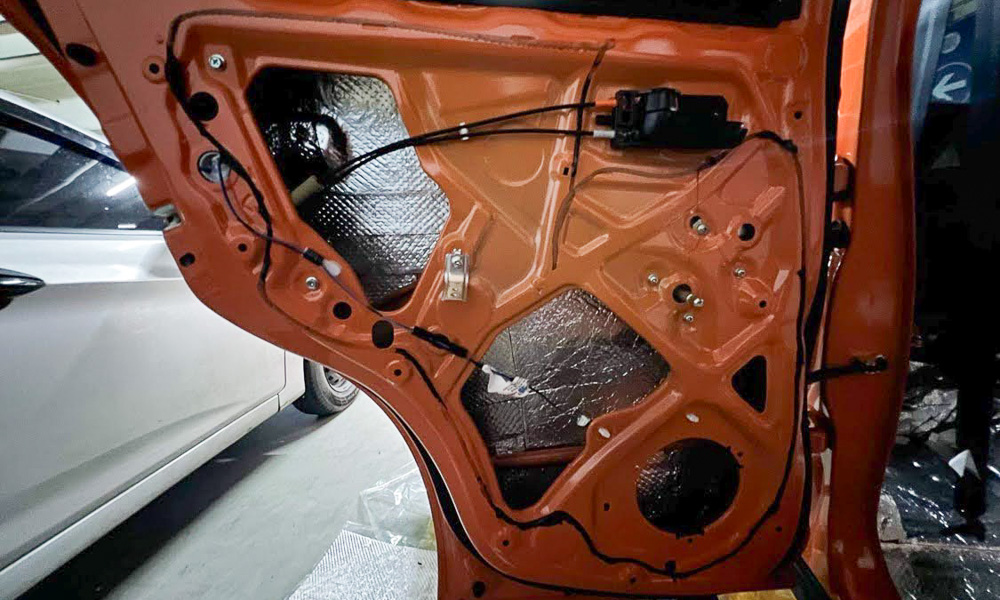
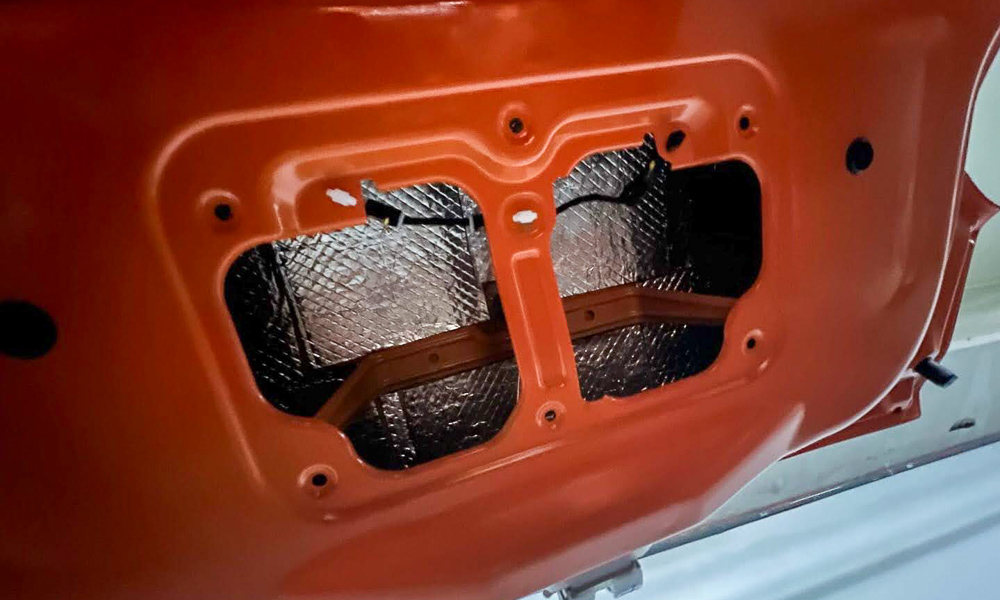
So, was it worth it? In one word, we think yes. The S-Presso feels like a different car now. The doors have a more solid plop to them when being closed; outside traffic and road noises are a lot less noticeable; and the biggest difference was experienced in bad weather.
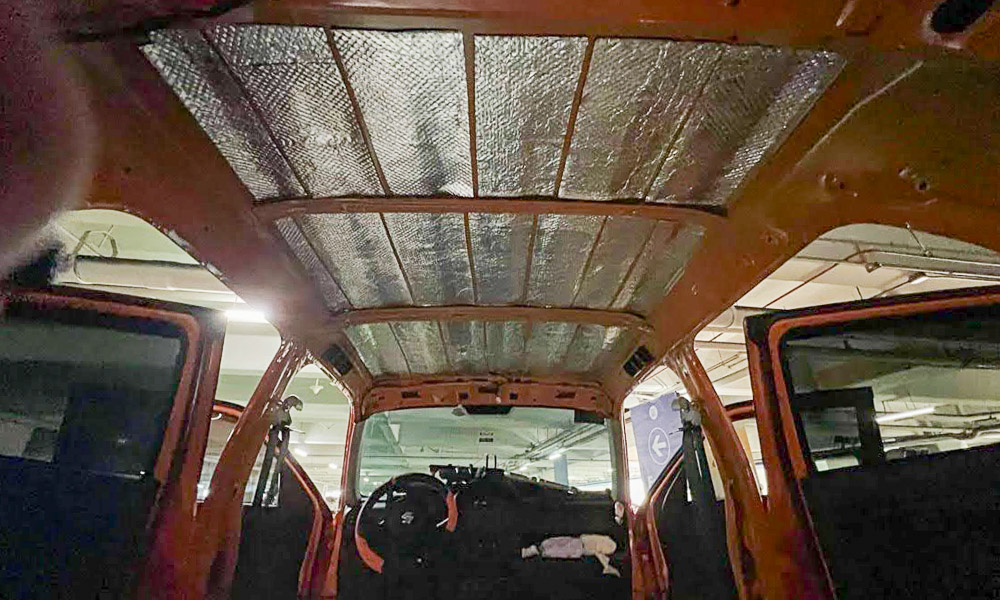
Previously, when it rained, it sounded like we were sitting in an empty tin can that was being hammered by a waterfall.
Now, the rain noise is barely noticeable, and I was honestly surprised by how much of a difference this treatment made. The whole procedure cost P15,000, which seemed reasonably good value for money as it ensured more enjoyable motoring.
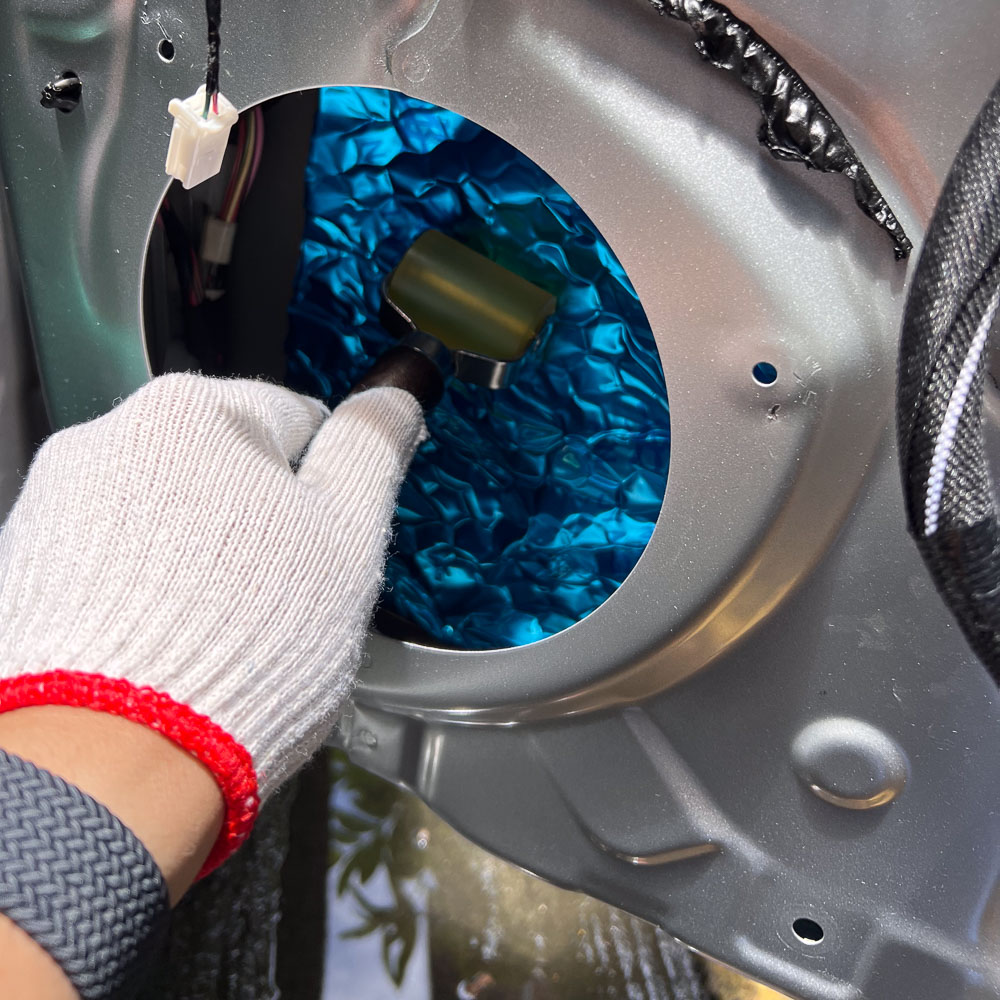
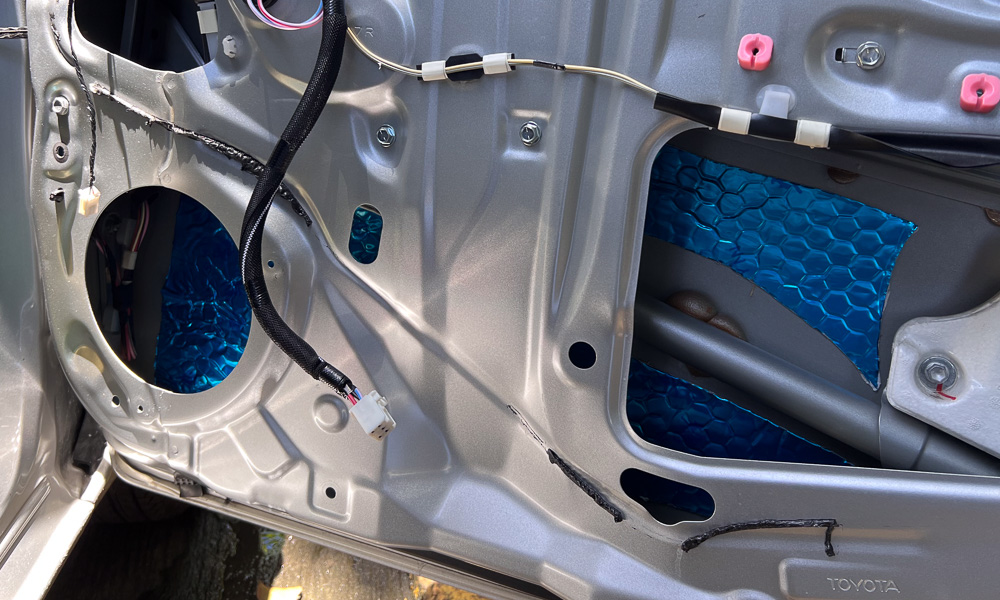
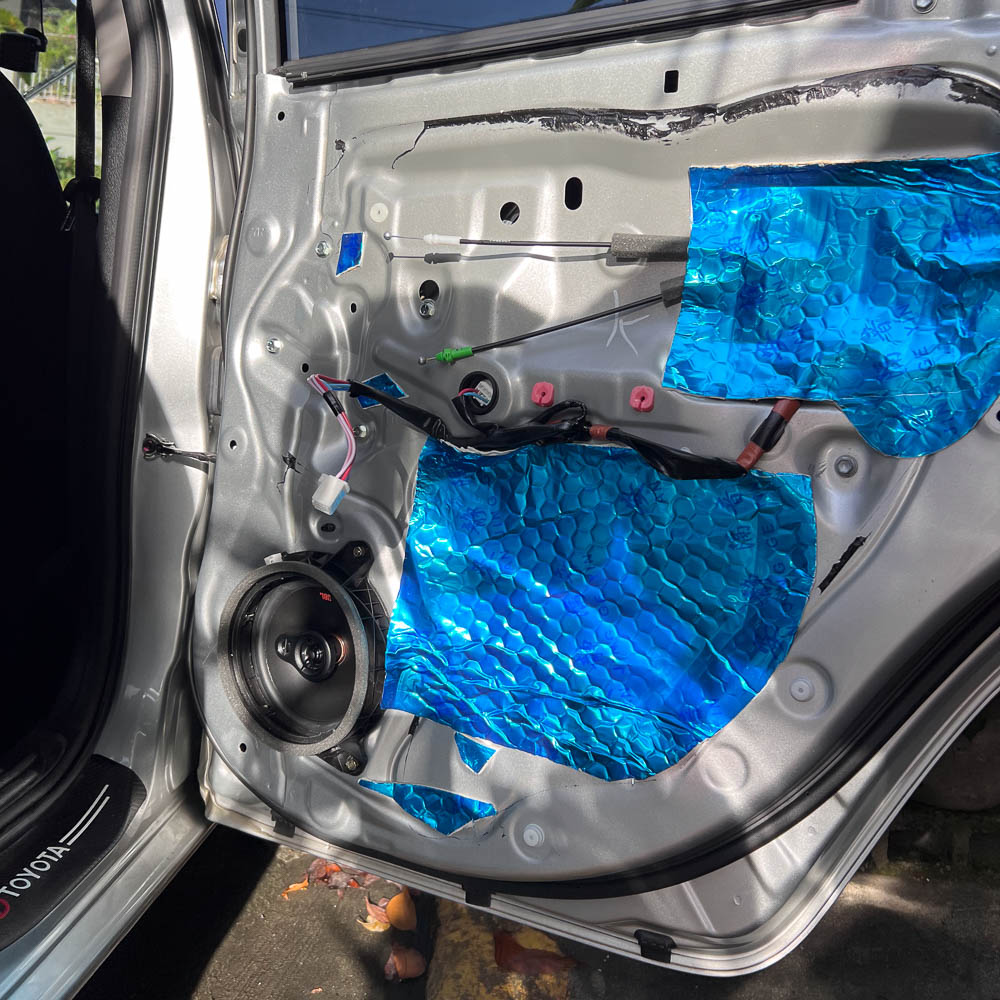
If you want to save some cash, then there is always the option of doing it yourself. Our managing editor recently applied additional sound dampening to his Vios as a DIY project that took the whole day, and he spent around P2,000 for the material and the tools from Lazada.
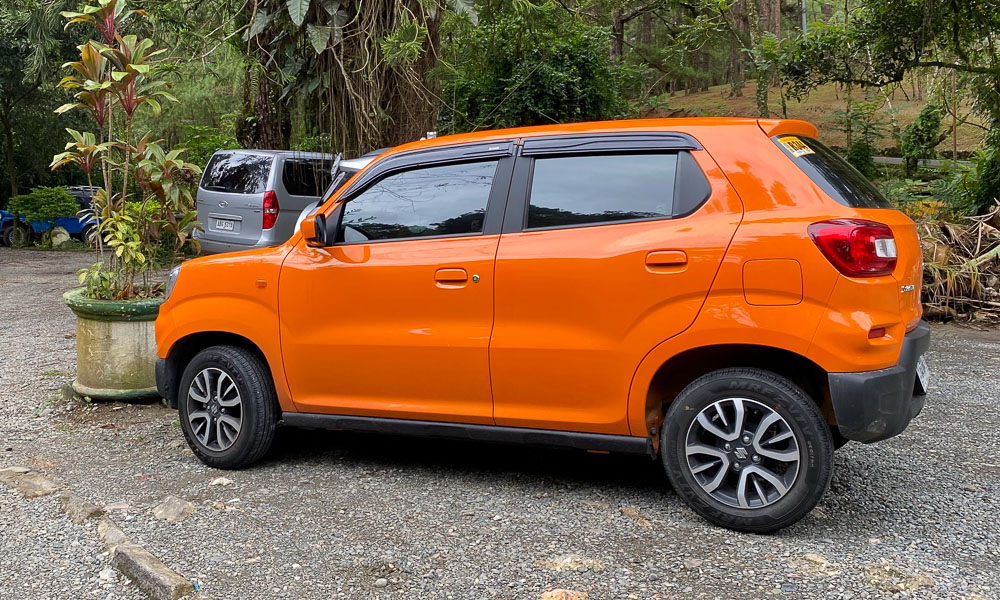
If you’re brave enough to have your car taken apart (or to do it yourself), then this is definitely worth considering. The result looks pretty good, as you can see from the pictures. Either way, adding sound and heat dampening seems like a worthwhile thing to do when you have a car without tons of it installed from the factory.
It makes everyday driving more enjoyable, and I would also argue that it helps to preserve the value of the car as this is a useful modification that makes the vehicle more desirable should you ever decide to sell it.


0 Comments